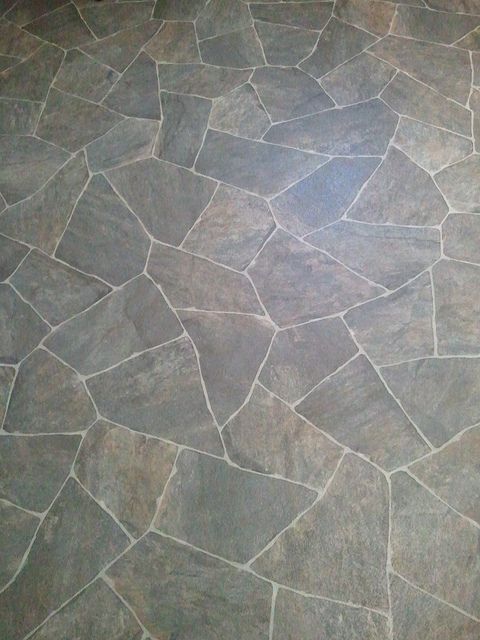
Putting down new flooring can be a huge pain. Ripping flooring up? Even worse. But you know what doesn’t have to be a pain, shipping flooring. You’re already going to have a hard time putting it down or pulling it up, there’s no point in making the shipping of it a pain too.
How to ship flooring? It’s one of the most common questions we get here at Freightpros, and one that we thought would make a great blog post. So here we go, for the latest installment in our How to Ship series…
How To Ship Flooring In 3 Steps
The first and most important step when you’re looking at shipping flooring is the packaging. We might have great Central Transport freight shipping rates, but they don’t mean anything without the correct packaging.
When you’re learning how to ship flooring, the correct packaging is pretty simple, but often done incorrectly. Flooring should be in boxed and secured on a pallet. This should happen every time. Considering that most flooring already comes in a box, all you need to worry about is the pallet and keeping the boxes and the pallet together.
You can use industrial strength shrink wrap to make sure all the boxes stay together on the pallet. To reduce piece count, feel free to stack the flooring boxes up to five or six feet high, depending on what you’re comfortable with.
The second step of shipping your flooring via LTL or truckload is the freight class. We’ve got a wonderful blog post that explains freight class, so be sure to check that out if you’re unfamiliar with freight class. The good thing about shipping flooring is that most of the time, your class is going to be 60.
This applies if you’re shipping tile or wood, ceramic or cement flooring, or 90% of any and all flooring. Beware: If your flooring is made of vinyl or some other rare material, your freight class might be different. If you’re unsure of the class used when shipping your flooring, check with your online freight broker, and they’ll be able to assist you.
How To Ship A Motorcycle
The final step in how to ship flooring is the freight insurance. Freight insurance is a must when you are learning how to ship flooring, especially if your flooring is ceramic tile or some other breakable material.
If you’re shipping hardwood flooring, you’ll want to avoid scratches and chips, and the same applies to any sort of flooring. LTL carriers are familiar and comfortable shipping flooring, but that doesn’t mean they are damage-free. For more information, check out our blog post on freight insurance.
As you can see, it’s pretty easy to learn how to ship flooring. All you need to follow are three steps.
1. Packaging – Make sure your flooring is boxed and palletized. Cardboard boxes are fine, and you’ll need to shrink wrap the boxes to the pallet once they are stacked accordingly.
2. Freight Class – Freight class can be a sticky situation, however most flooring materials are classed on Class 60. This makes quoting your LTL shipments pretty easy, as the class rarely changes when it comes to how to ship flooring.
3. Freight Insurance – Though most flooring is not fragile, it’s important to get freight insurance when you’re learning how to ship flooring. Even with all the packaging in the world LTL freight will get damaged from time to time.
It can be difficult to get claim payments from carriers where the entire shipment is not damaged or lost, so make sure to get freight insurance. That way you’ll be able to be compensated for any damage done to your flooring. Nobody wants a scratched up living room floor.
Check out our logistics blog for great updates and info about LTL shipping, truckload shipping, and Freightpros. Happy shipping!